Cricut
Cut and write the cards on a Cricut
NeatlyWed makes one file per sheet of cardstock for Cricut Design Space: the outline of every card to cut, and every name for the pen to write.
Get the files
Open Cricut from the menu.
Under What the Cricut does, pick Cut and write, Write only (for cards already cut) or Cut only.
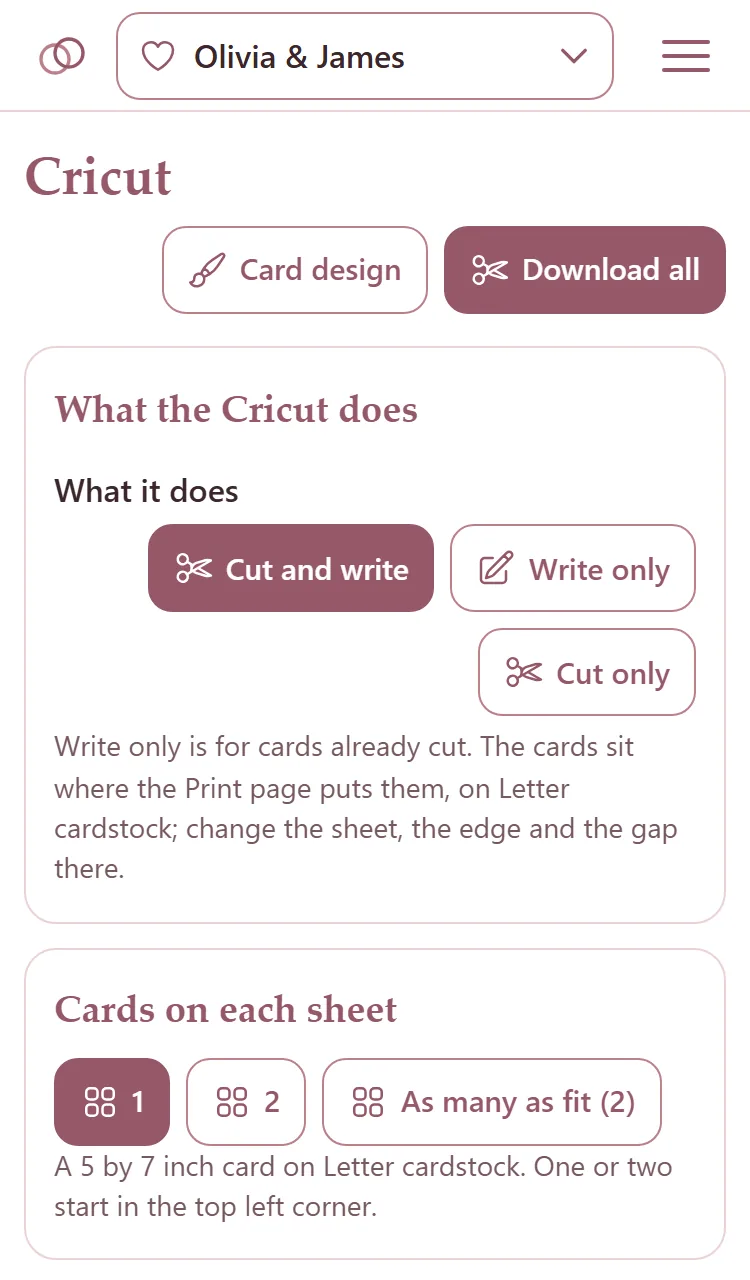
Under Cards on each sheet, pick 1, 2 or As many as fit. One or two start in the top left corner.
Each sheet is drawn with its tables on it. Press the download button under a sheet, or Download all at the top for every sheet in one zip file.
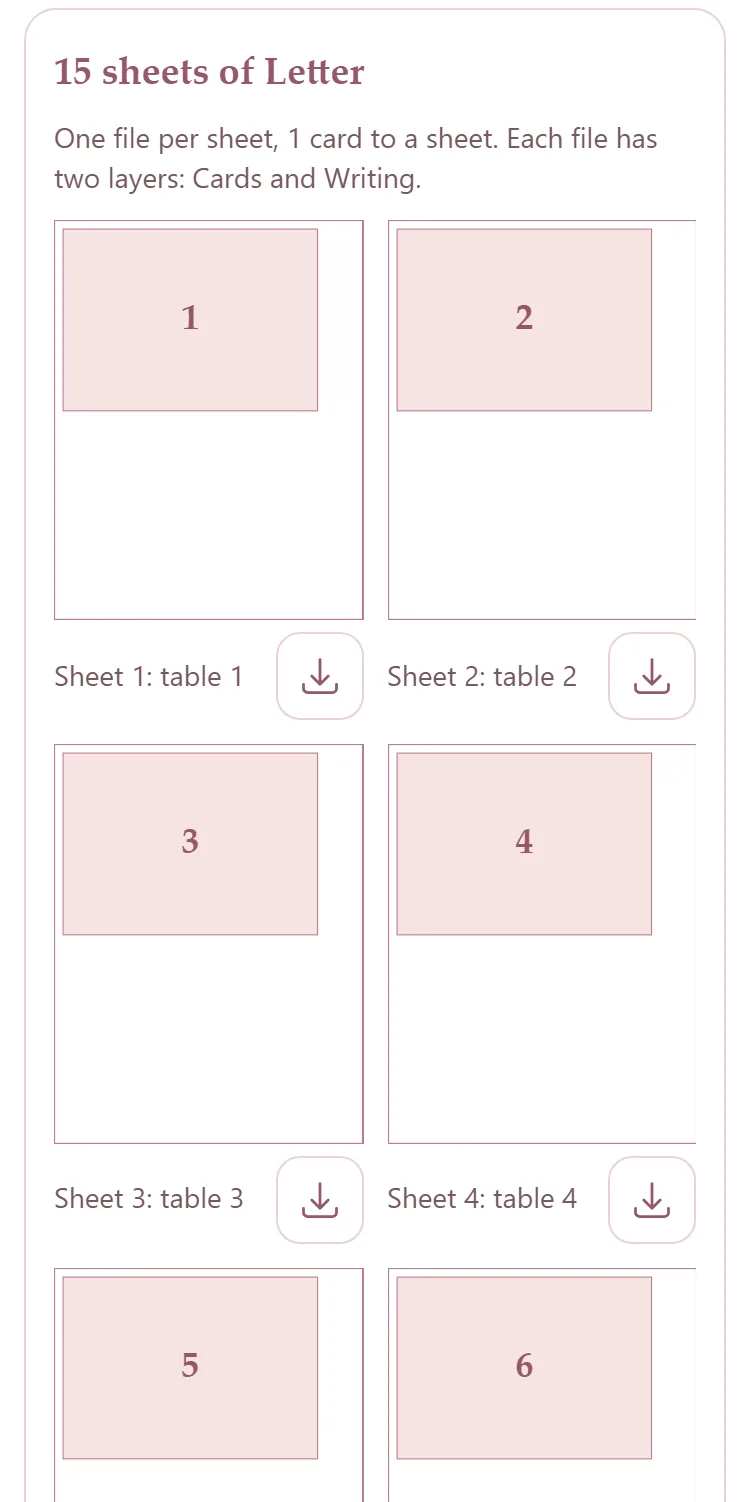
The cards sit where the Print page puts them. Change the sheet, the edge and the gap on the Print page.
In Design Space
Press Upload, then Upload Image, then Browse, and choose a sheet's file. When it asks what kind, pick Cut image, not Print Then Cut. Upload it and add it to the canvas.
In the Layers panel, open the group. Click Cards and set its operation to Basic Cut. Click Writing and set it to Pen.
Select the whole group and press Attach, the paper clip at the bottom of the Layers panel. Not Flatten: that turns it into a print.
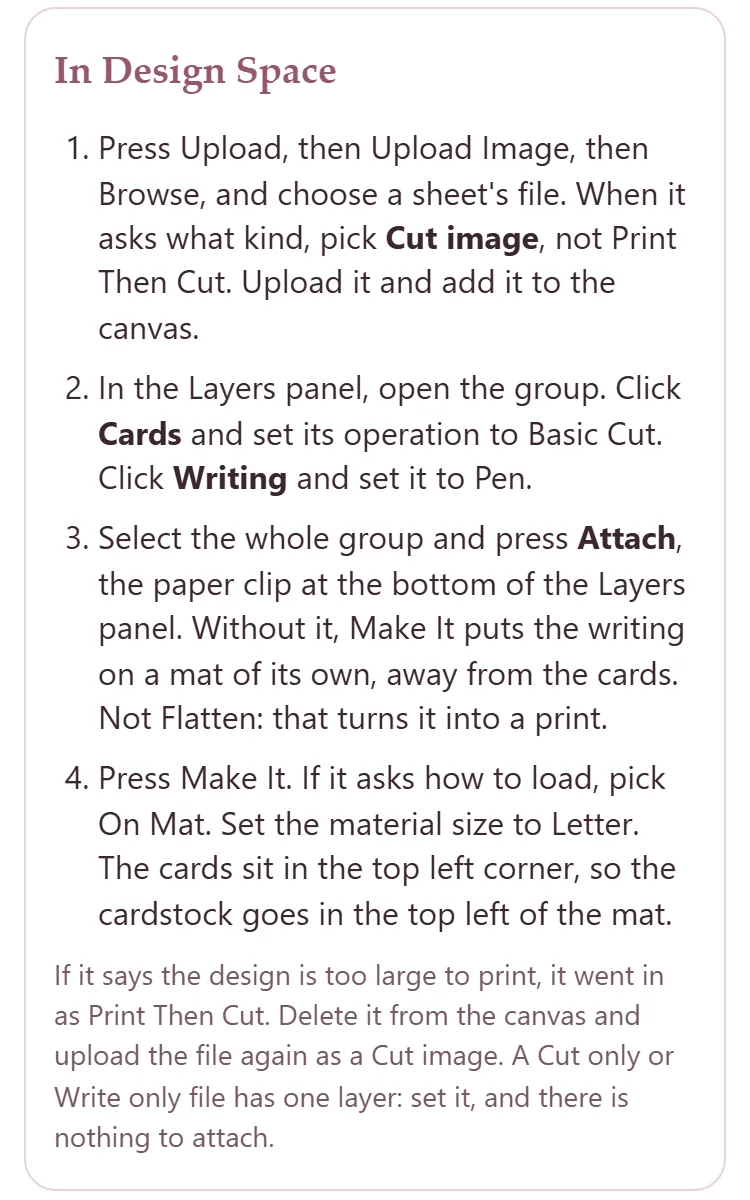
Press Make It. If it asks how to load, pick On Mat. Set the material size to the sheet you picked on the Print page. The cards sit in the top left corner, so the cardstock goes in the top left of the mat.
The Cricut page gives these same steps under In Design Space.
If the words land outside the cards
The two layers were not attached. Without Attach, Make It puts the writing on a mat of its own, away from the cards. Go back to the canvas, select the whole group, press Attach, then Make It again.
If it says the design is too large to print
It went in as Print Then Cut. Delete it from the canvas and upload the file again as a Cut image.
A Cut only or Write only file has one layer: set it, and there is nothing to attach.